
Hellgates Guide
Introduction
Hellgates are accessed through Hellgate Rituals, which can be crafted at the Artifact Foundry, looted from mobs, or purchased. Similar to Dungeon Maps, Hellgate Rituals can only be used in zones matching the map type (lethal near red/black zone and non-lethal near yellow zone).
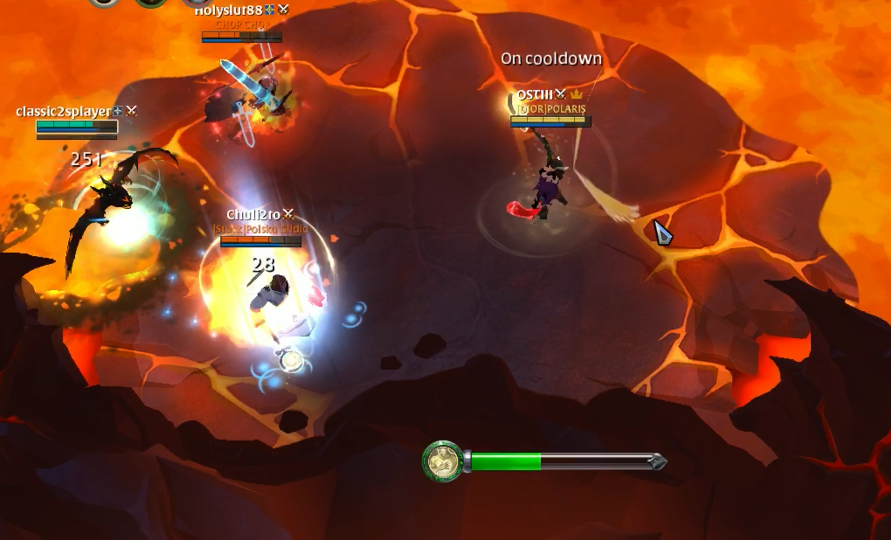
Inside these portals, players encounter various weak mobs and bosses, and often, another team of players to battle. During battles, a closing zone progressively deals damage, starting at 1% of your HP per second and increasing by 1% every second.
Types of Hellgates
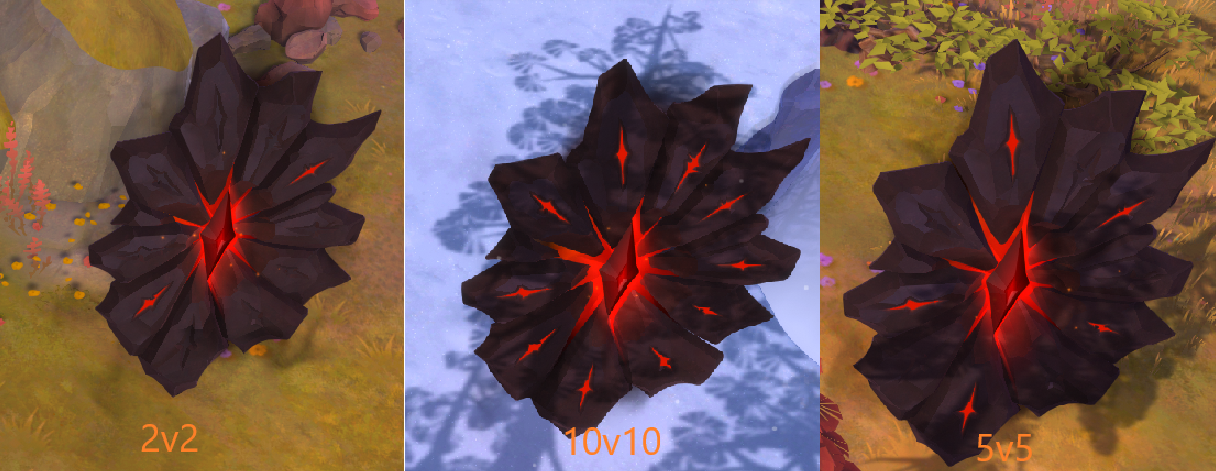
Hellgates come in three sizes:
- 2v2
- 5v5
- 10v10
Each size is available in two modes:
- Non-lethal: PvP results in knockdowns instead of death (no full loot).
- Lethal: PvP results in death (full loot).
Requirements for Entry
To enter a Hellgate, players must meet the following criteria:
- Sufficient Base Item Power (IP): This stat measures the tier, quality, and enchantment of your gear, excluding Mastery and Specialization bonuses. The required IP depends on the zone.
- Appropriate Party Size: Match the Hellgate type with the correct number of players (2, 5, or 10).
Item Power Caps
| Hellgate Type | Minimum IP Requirement | IP Cap |
|---|---|---|
| 2v2 (Non-Lethal) | 800 | 900 (Soft Cap - 90%) |
| 2v2 (Lethal) | 900 | 1100 (Soft Cap - 80%) |
| 5v5 (Non-Lethal) | 800 | 900 (Soft Cap - 90%) |
| 5v5 (Lethal) | 1000 | 1200 (Soft Cap - 65%) |
| 10v10 (Non-Lethal) | 800 | 900 (Soft Cap - 90%) |
| 10v10 (Lethal) | 1000 | 1200 (Soft Cap - 65%) |
Example: A player with 1200 IP enters a 2v2 Lethal Hellgate. Their IP is reduced to the cap:
- Soft cap formula: IP = 1100 + (0.2 × 100) = 1120 IP.
How to Start Playing 2v2 Hellgates
Find a Teammate:
- Decide on a composition (comp). The most effective comp is DPS + Healer, though some DPS-only comps exist. These are less effective compared to healer-based comps.
Choose Your Build:
- Pick one from the below.
Choose a Starting Hellgate:
- Non-lethal: Ideal for practice and learning the mechanics.
- Lethal: Faster progression but carries higher risks and rewards.
Select a Starting City:
- Caerleon: Higher loot prices.
- Bracillien: Cheaper gear and potions.
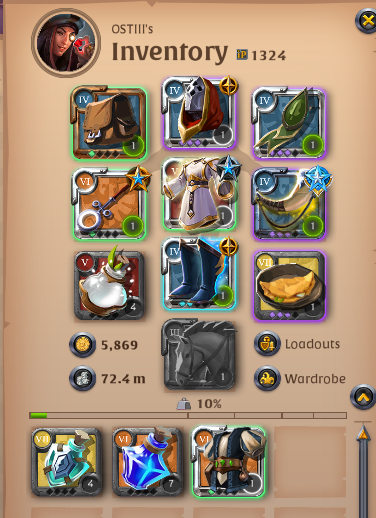
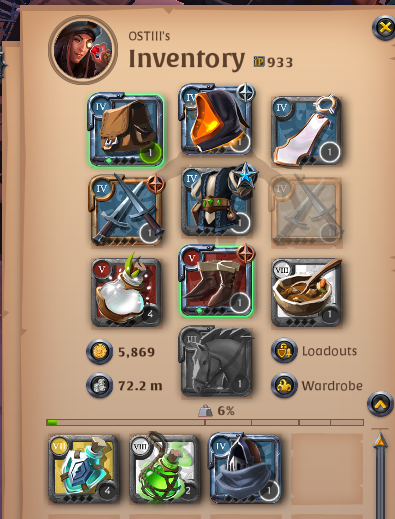
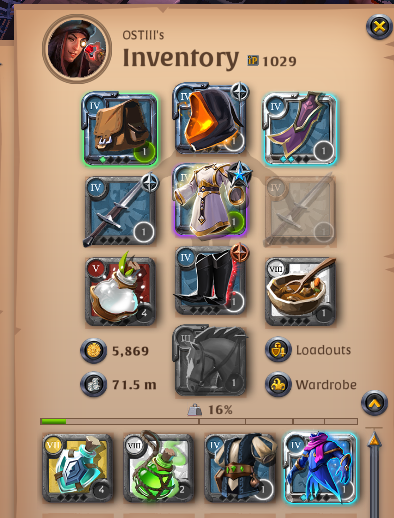
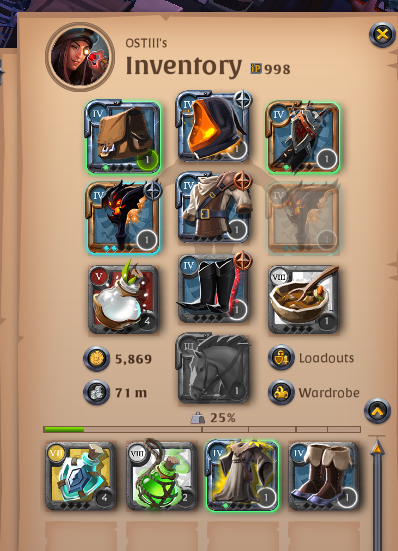
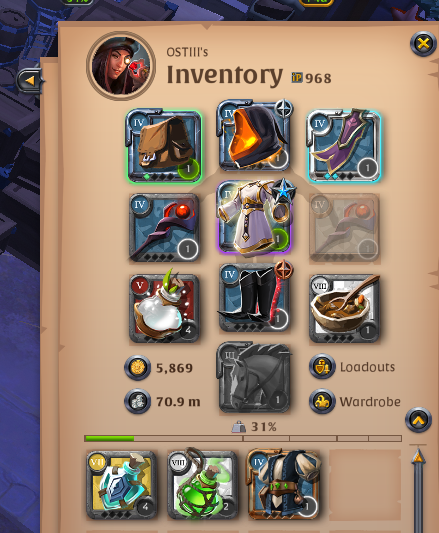
Prepare Your Gear:
- Purchase a T6 map.
- Ensure your gear has at least 1100 IP for lethal Hellgates. IP makes a significant difference, and not optimizing the soft cap can be detrimental.
Activate Your Map:
- In Caerleon, activate the map in the Lower Market to ensure your Hellgate spawns only one zone away from the city.
Build Recommendations
Example Builds
Build 1
 ### **Healer Basics**
As a beginner healer, your first priority should be to use your Q spell off cooldown. While exceptions exist, focusing on this will help you learn the basics. Below are additional tips:
W Spell (Blessing): Use it against enemy E spells (e.g., dagger pair, claymore, battle axe). Against magic damage, combine it with your E spell and bonus healing passive.
Holy Beam: Use against Hellspawn or SOB+Blessing. If hellspawn use 2nd w then swap to the last passive.
Holy Orb: Can be used against demonic weapons if the enemy doesn’t use Purity Robe.
Purity Robe: Use to displace enemy healers or defensively, against ranged weapons consider swapping to Frost Shield for better survivability. Use first passive.
Mage Robe: Purge buffs like Cultist Sandals or jackets/robes. Avoid wasting it on purging stacks. Use first passive.
Royal Cowl: Use every cooldown to maximize effectiveness. Use first passive.
Mistwalker Shoes: Use Afterimage against melee; swap to Refreshing Sprint against ranged unless playing Beam vs. Imp. Use Refreshing Sprint against double DPS and oneshots. Use cooldown reduction passive
Cape: Use Lymhurst Cape for mana efficiency.
Potions:
- Resistance Potion: Kite after getting purged twice in a row by enemy DPS.
- Cleanse Potion (T5): Effective against stuns (e.g., dagger + grail comps). You can use t7 potions and use it against demonic or any other curse.
- Energy Potions: Use against mana purge comps.
Positioning: As a healer, always stay behind your DPS in a front-to-back (FTB) formation. It’s easier to heal your DPS than yourself, so maintain distance. This also helps drop curse stacks and prevents most one-shots from targeting you.
Build 2
- Dagger Pair: One of the easiest DPS to choose. Plan is simple: get 3 stacks from Q. If using Fiend Cowl, start auto-attacks before healer Q, then use W when the healer is about to use Q. If they use Blessing, purge it, then E. Optionally add a poison potion before this combo. With Mercenary Hood, start with E to prevent Blessing, then W and auto-attack while interrupting healer Q with the hood. If the healer is more expirienced and bless your every E you can bait his blessing by canceling your E( You can do it by clicking somewhere instantly after pressing E or by pressing S after E)
Build 3
- Claymore: A more challenging DPS than Dagger Pair. With Feyscale Robe, stack Q to 3, use Cultist Sandals, purge Mage Robe if equipped, and execute the combo, you can also ask your healer for blessing and purge enemy blessing for maximum dmg. If using Purity Robe, stack on the DPS, then target the healer, using Purity defensively or offensively(kindaping) as needed. Mage Robe is the most defensive option, useful for countering enemy robes or sandals.
Build 4
- Hellspawn: Against healers playing Beam, use the second W spell and focus the healer. Jacket grants high defense to survive most combos from dagger pairs and burst DPS comps, vs one shots and double dps use inferno shild. You can swap hunter jacket for druid robe at cost of defensive.
Build 5
- Demonic: Focus on double-stacking the enemy healer and DPS. Use W situationally with Cultist Sandals, Use E for burst dmg and to separate healer and dps from each other, vs one shots use 2 q and root W, sprint on sandals and frost shild on robe. Mage robe is cheaper alternative that provides good defensive.
Maps
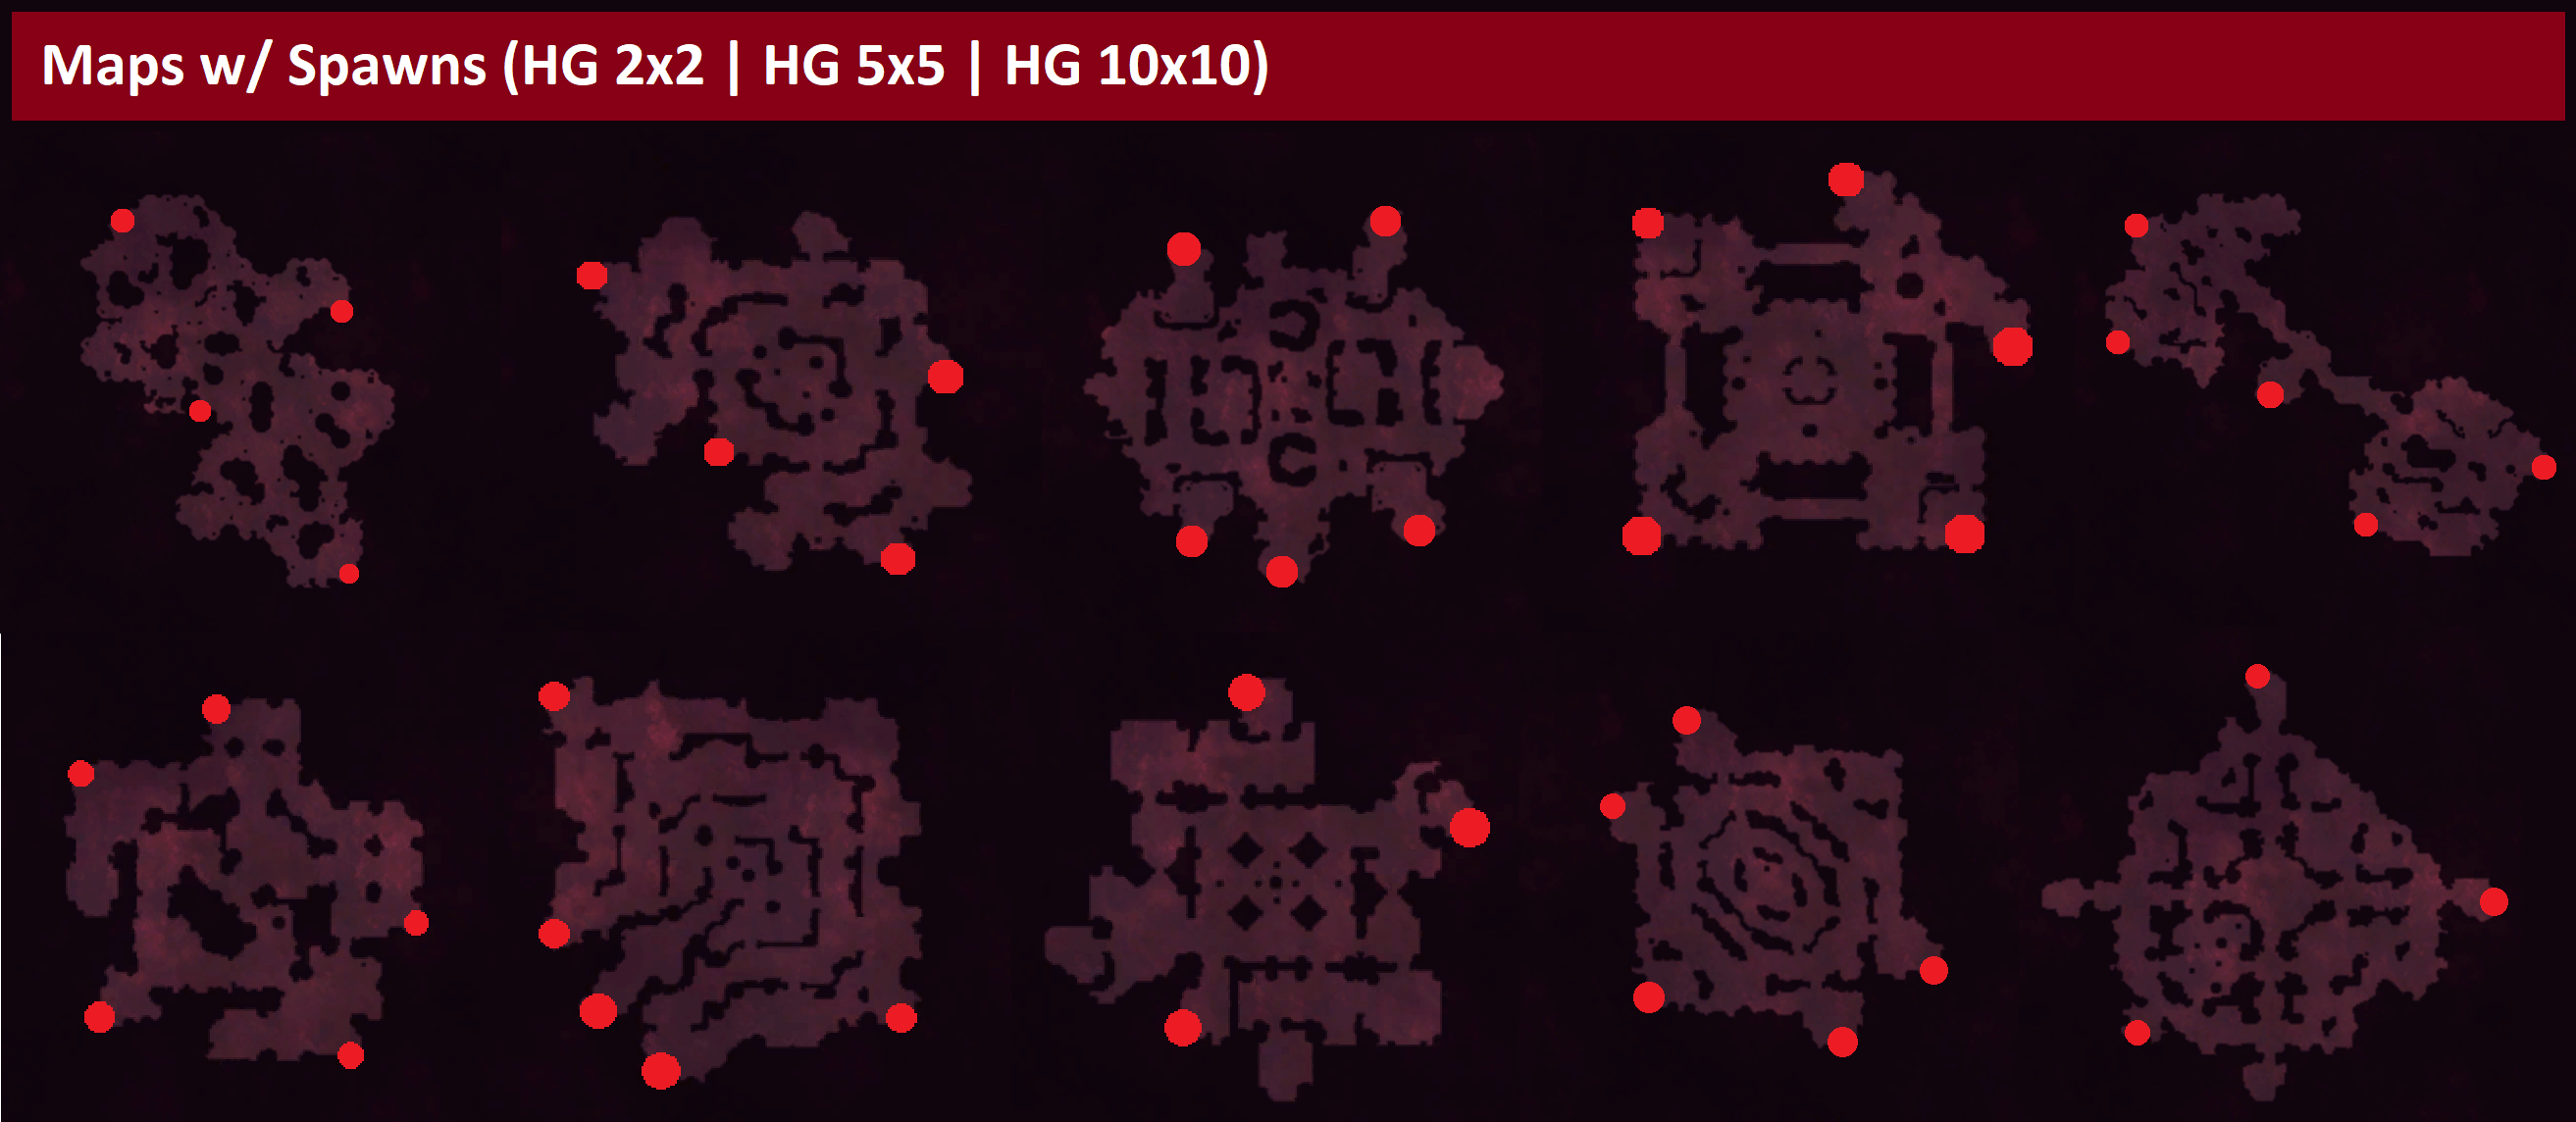 If you play as demonic or hellspawn your ideal map will contain the least amout of pillars and walls possible. You can hold good maps if you want to.
Tier List and Resources
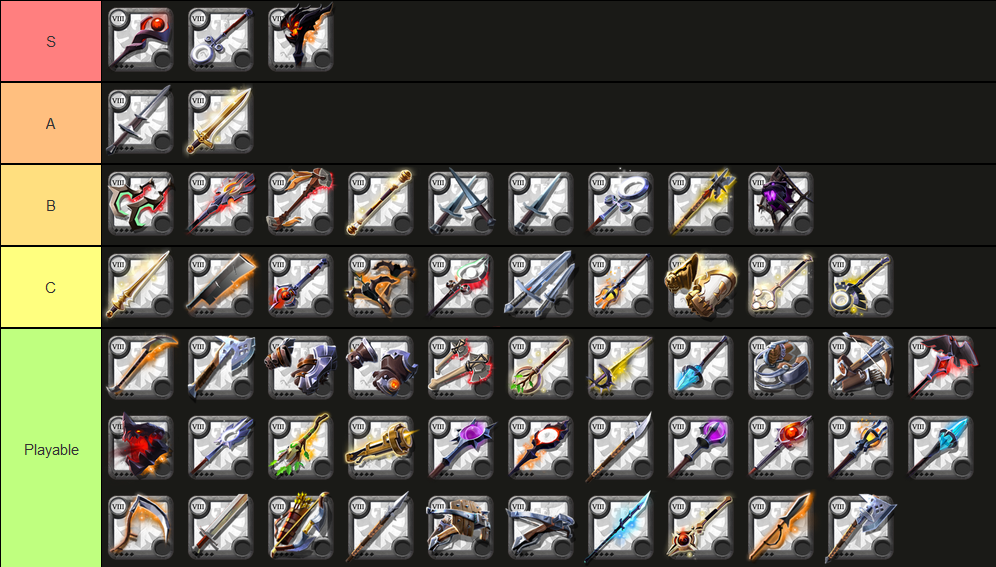 (tier list by Ostiii)
For further questions, ask me (Ostiii) on AlbionFreeMarket Discord or visit Hellgate Hub.
By following this guide, you'll be well-equipped to start exploring and competing in Hellgates. Best of luck, and may your battles be victorious!